

 www.scribd.com ```html
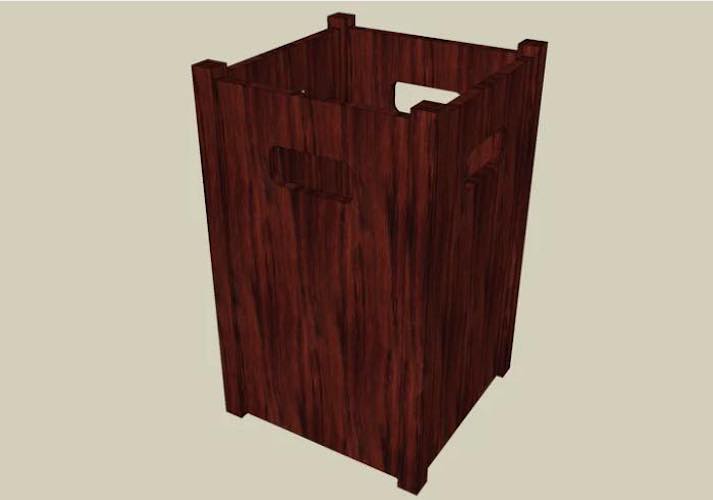
 Introduction: Building Your Own Wooden Garbage Box Tired of unsightly garbage cans ruining your curb appeal? A DIY wooden garbage box is the perfect solution! This project is relatively straightforward and can be customized to fit your specific needs and aesthetic preferences. In this guide, we'll walk you through the steps to build a sturdy and attractive garbage box that will keep your trash hidden and your property looking great.
Materials and Tools You'll Need Before you begin, gather all the necessary materials and tools: Wood (cedar, redwood, or treated lumber are recommended for weather resistance) Determine the amount based on the size of your garbage cans and desired box dimensions. Consider using 1x4s, 1x6s, and 2x4s. Measuring tape Pencil Saw (circular saw, miter saw, or hand saw) Drill/Driver Screws (exterior grade) Wood glue (exterior grade) Sandpaper Wood stain or paint (optional) Hinges (for the lid) Latch or handle (for the lid) Safety Glasses Ear Protection
Step 1: Planning and Measuring Start by measuring your garbage cans to determine the internal dimensions of the box. Add a couple of inches to each dimension to allow for easy removal and placement of the cans. Plan the height of the box, ensuring the lid will fully cover the cans. Sketch out a simple plan of your box, noting the dimensions of each panel. A hinged lid is usually the best option for easy access.
Step 2: Cutting the Wood Using your measurements from Step 1, cut the wood pieces for the sides, front, back, bottom (optional depending on the design) and lid of the box. Accuracy is key to ensure a square and sturdy structure. Double-check your measurements before cutting to avoid wasting material.
Step 3: Assembling the Box Frame Begin assembling the frame of the box using wood glue and screws. Pre-drill pilot holes to prevent the wood from splitting. Start by attaching the side pieces to the front and back pieces to form a rectangular frame. Ensure the corners are square using a carpenter's square. If you are including a bottom, attach it now.
Step 4: Building and Attaching the Lid Construct the lid using similar methods as the box frame. The lid should be slightly larger than the top of the box to provide an overhang. Attach hinges to the lid and the back of the box, making sure the lid opens smoothly.
Step 5: Adding the Finishing Touches Sand all surfaces of the box to remove any rough edges and splinters. Apply a wood stain or paint to protect the wood and enhance its appearance. Once the stain or paint is dry, attach a latch or handle to the lid for easy opening and closing.
Step 6: Placement and Usage Place the completed garbage box in your desired location. Test the lid to ensure it opens and closes properly. The box should now effectively conceal your garbage cans and improve the aesthetics of your property.
Conclusion: Enjoy Your New Garbage Box! Congratulations! You've successfully built your own wooden garbage box. This project not only enhances the look of your yard but also provides a practical solution for concealing unsightly garbage cans. Remember to maintain your box by periodically cleaning it and reapplying stain or paint as needed to keep it looking its best for years to come. You can customize this project further by adding decorative elements such as trim or personalized designs.
``` My New Wooden Garbage Box Pdf
www.scribd.com New Garbage Plan
 www.scribd.com
 Garbage Can
 freewoodworkingplan.com


0 komentar:
Posting Komentar