

 freewoodworkingplan.com ```html
 Introduction: Building Your Own Dining Table Creating a dining table is a rewarding woodworking project. This step-by-step guide will walk you through the process, from choosing your materials to applying the final finish. We'll focus on a simple, sturdy design perfect for beginners and experienced woodworkers alike.
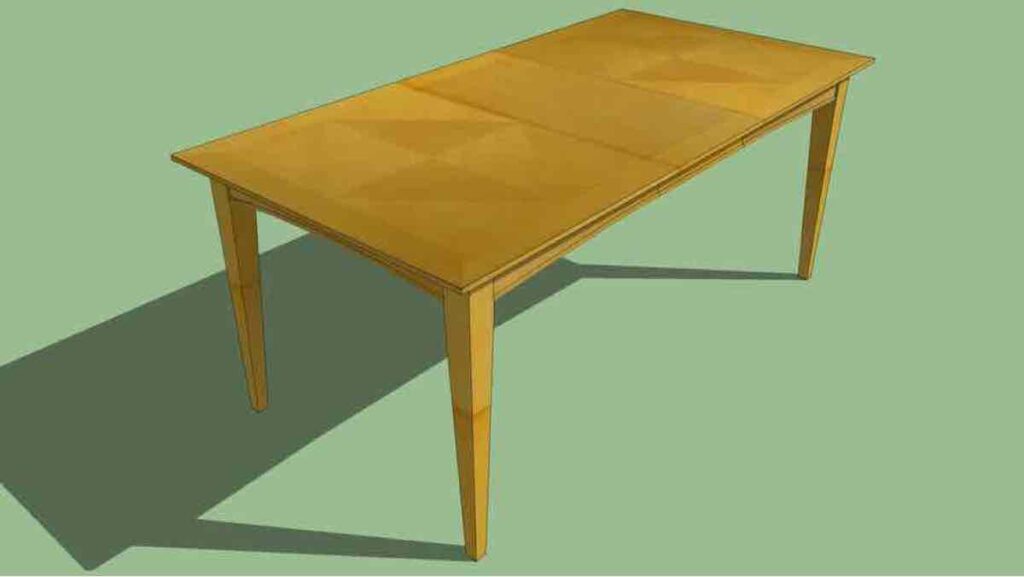
Step 1: Planning and Design Determine the size: Decide how many people you want to seat regularly, and occasionally. A good rule of thumb is to allow 24 inches of width per person and 12-14 inches of depth. Choose your materials: Popular choices include pine, oak, maple, and walnut. Consider the cost, durability, and aesthetic appeal of each. For legs, you can use pre-made legs or create your own. Create a sketch: Draw a simple sketch of your table, including the dimensions of the tabletop, legs, and apron (the frame that connects the legs to the tabletop). This will help you visualize the project and estimate the amount of lumber you need. Gather your tools: You'll need a table saw (or circular saw with a straight edge), drill, sander, measuring tape, clamps, wood glue, screws, and safety glasses.
Step 2: Preparing the Tabletop Cut the lumber: Cut the boards for the tabletop to the desired length. If you're using multiple boards, ensure they are all the same thickness. Joint the edges: Use a jointer (or a hand plane) to create perfectly straight and square edges on each board. This is crucial for a tight glue-up. Glue and clamp: Apply wood glue evenly to the edges of the boards and clamp them together tightly. Ensure the boards are aligned flush and square. Wipe away any excess glue. Let it dry: Allow the glue to dry completely, typically 24 hours, according to the glue manufacturer's instructions. Flatten and sand: Once the glue is dry, remove the clamps. Use a hand plane or belt sander to flatten the tabletop. Then, sand the surface smooth, starting with a coarse grit (e.g., 80-grit) and progressing to finer grits (e.g., 120-grit, 220-grit).
Step 3: Building the Apron Cut the apron pieces: Cut the apron pieces to the required length. The apron typically runs along the underside of the tabletop and provides structural support. Attach the apron: Apply wood glue to the edges of the apron pieces and clamp them to the underside of the tabletop, forming a rectangle. Use screws to secure the apron to the tabletop. Countersink the screws to prevent them from protruding. Ensure squareness: Check that the apron is square before the glue dries. Use a carpenter's square to verify that the corners are 90 degrees.
Step 4: Attaching the Legs Prepare the legs: If you're making your own legs, cut them to the desired length and shape. If you're using pre-made legs, ensure they are properly prepared for attachment. Attach the legs: Attach the legs to the corners of the apron using wood glue and screws or bolts. Ensure the legs are securely fastened and aligned properly. Some prefer using metal brackets for extra stability. Reinforce if needed: Consider adding corner blocks inside the apron to provide additional support to the legs. These blocks are glued and screwed into place.
Step 5: Sanding and Finishing Final sanding: Sand the entire table, including the tabletop, apron, and legs, to create a smooth and even surface. Use fine-grit sandpaper (e.g., 220-grit) for the final sanding. Apply finish: Choose your desired finish. Options include varnish, polyurethane, lacquer, or oil. Apply the finish according to the manufacturer's instructions. Multiple coats may be required, with light sanding between coats. Let it dry: Allow the finish to dry completely before using the table.
Conclusion: Enjoy Your New Dining Table Congratulations! You've successfully built your own dining table. Take pride in your craftsmanship and enjoy many meals around your handmade creation. Remember to maintain the table by cleaning it regularly and applying a fresh coat of finish as needed.
``` Dining Table Pdf
 freewoodworkingplan.com
 Dining Table Pdf
freewoodworkingplan.com Dining Table Pdf
 freewoodworkingplan.com


0 komentar:
Posting Komentar