

 www.walmart.com
 Opening: Unleash Culinary Creativity with a DIY Play Kitchen! Ready to spark your child's imagination and budding culinary skills? Building a DIY play kitchen is a fun and rewarding project that's easier than you think. This step-by-step guide will walk you through the process, helping you create a unique and personalized play space for your little chef. Get ready to roll up your sleeves and get crafting!
Step 1: Gathering Your Supplies Before you start building, it's essential to gather all the necessary materials. This will streamline the process and prevent interruptions later on. Here's a list of what you'll likely need: A base structure: This could be an old cabinet, a repurposed bookshelf, or even a sturdy cardboard box. Wood for building shelves, countertops, and other details (plywood or MDF are good choices). Hardware: Screws, nails, hinges, and knobs. Paint: Child-safe, non-toxic paint in colors of your choice. Optional: A small sink, faucet (real or toy), toy stove burners, oven door (can be made from wood or repurposed), and various kitchen accessories. Tools: Saw, drill, screwdriver, measuring tape, sandpaper, paintbrush, and safety glasses.
Step 2: Planning and Design Before you start cutting and assembling, it's important to plan the layout and design of your play kitchen. Sketch out your ideas on paper, noting the dimensions and placement of shelves, the sink, stove, and oven. Consider the height of your child and make sure the countertops are at a comfortable level for them. This step is crucial for ensuring the finished product meets your child's needs and fits within your available space.
Step 3: Building the Structure Now it's time to start constructing the kitchen! Begin by reinforcing your base structure if necessary. If you're using an old cabinet or bookshelf, make sure it's stable and secure. Cut the wood for the countertops, shelves, and other details according to your plan. Assemble these pieces using screws or nails, ensuring everything is sturdy and level.
Step 4: Adding the Details This is where you can really get creative and personalize your play kitchen. Install the sink and faucet (if using). Create the stove burners using painted wooden circles or repurposed materials. Build an oven door with hinges so it can open and close. Add shelves for storage of play food and cookware. Sand down any rough edges to ensure a smooth and safe surface.
Step 5: Painting and Finishing Once the structure is complete, it's time to paint and decorate your play kitchen. Apply a coat of primer to ensure the paint adheres well. Then, paint the kitchen in your desired colors. Let the paint dry completely before adding any embellishments. You can use stencils, stickers, or freehand painting to add details and personalize the kitchen even further. Consider adding knobs and handles to the cabinets and drawers.
Step 6: Accessorizing and Playtime! The final step is to accessorize your play kitchen with toy food, cookware, utensils, and other fun items. Arrange the accessories in an appealing and accessible way. Now, invite your child to explore their new kitchen and unleash their culinary creativity!
Conclusion: A Kitchen Full of Imagination Congratulations! You've successfully built a DIY play kitchen. This project not only provides a fun and engaging play space for your child but also promotes creativity, imagination, and role-playing skills. Enjoy watching your little chef whip up countless culinary creations in their very own kitchen!
Kidkraft Deluxe Big And Bright Wooden Play Kitchen For Kids, Neon Colors
 www.pinterest.com
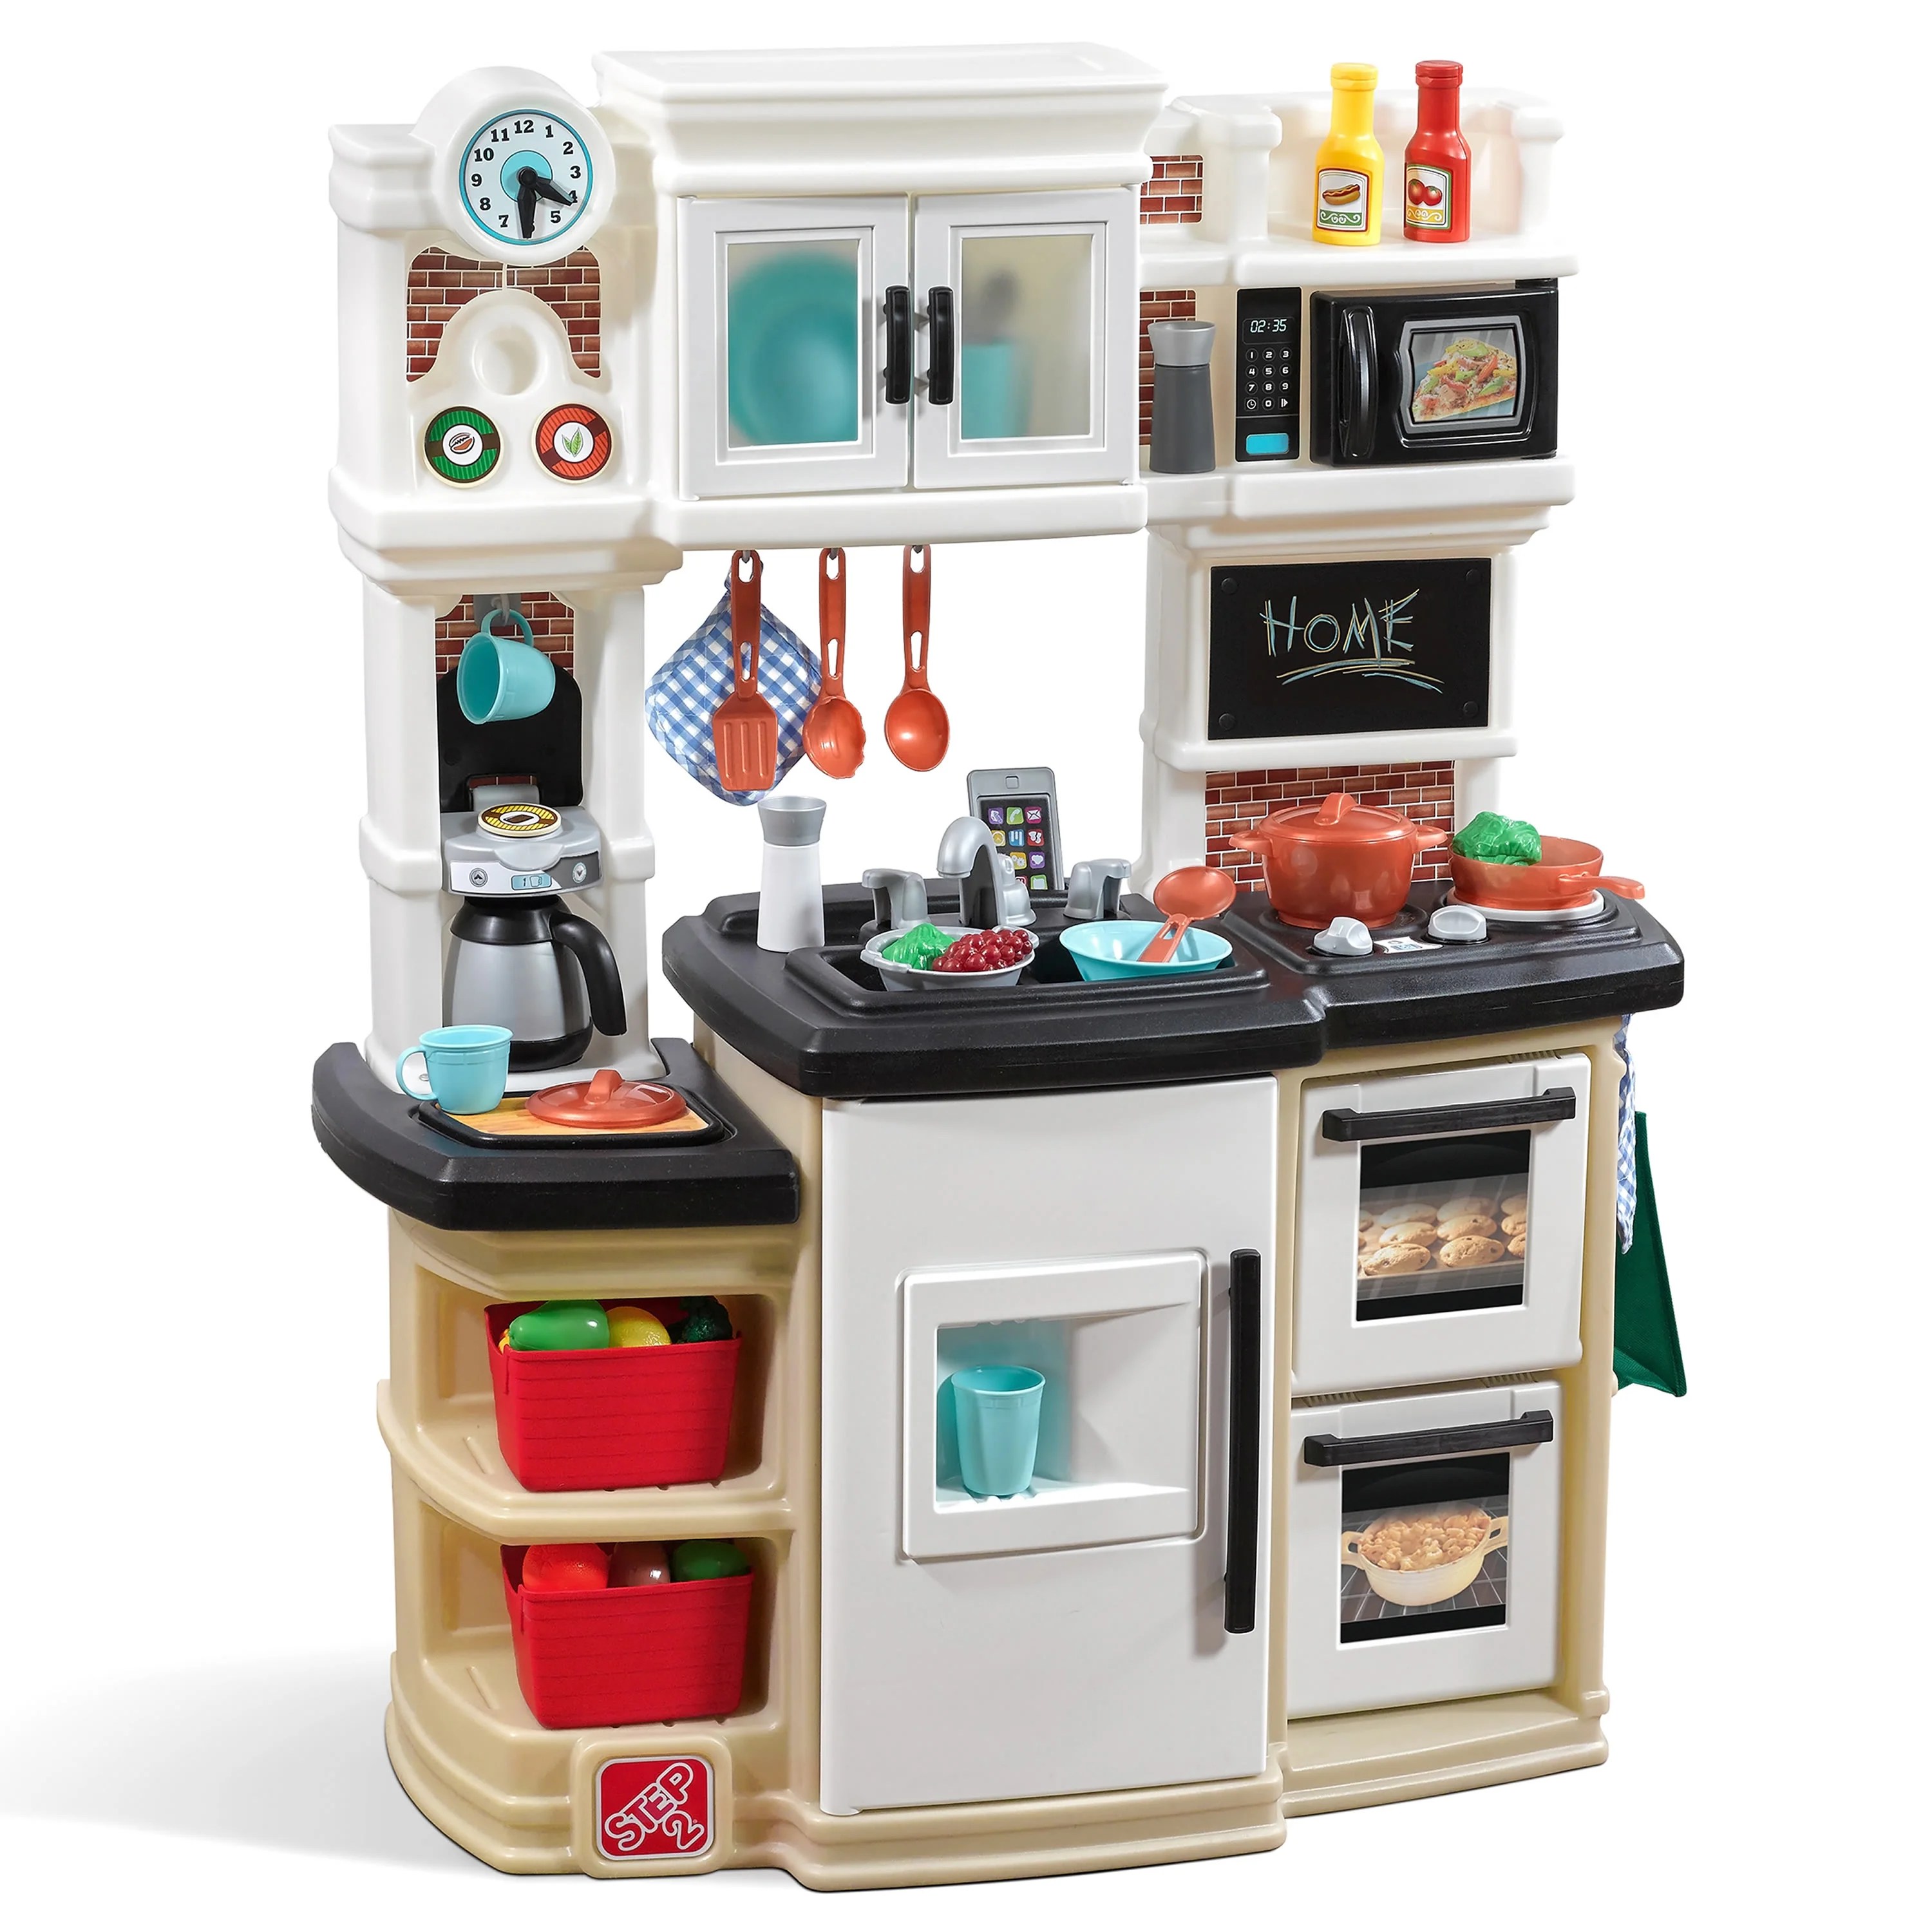
 Step2 Great Gourmet Tan And White Plastic Play Kitchen Set For Kids
www.walmart.com Deluxe Big And Bright Play Kitchen By Kidkraft
 www.pinterest.com


0 komentar:
Posting Komentar